AR Murals
The Definitive Guide to Augmented Reality Murals
Augmented Reality murals sit at the intersection of public art, digital storytelling, placemaking and immersive technology. At their best, they do more than add animation to a wall. They turn a static artwork into a living experience - one that can tell stories, reveal hidden layers, invite participation, connect to place, and continue evolving long after the paint has dried.
This guide outlines what makes an AR mural successful, how they are created, and the key creative, technical and production considerations needed to bring one to life.
What is an Augmented Reality Mural?
An Augmented Reality mural is a physical mural enhanced with a digital layer that can be viewed through a smartphone, tablet, headset or AR-enabled device.
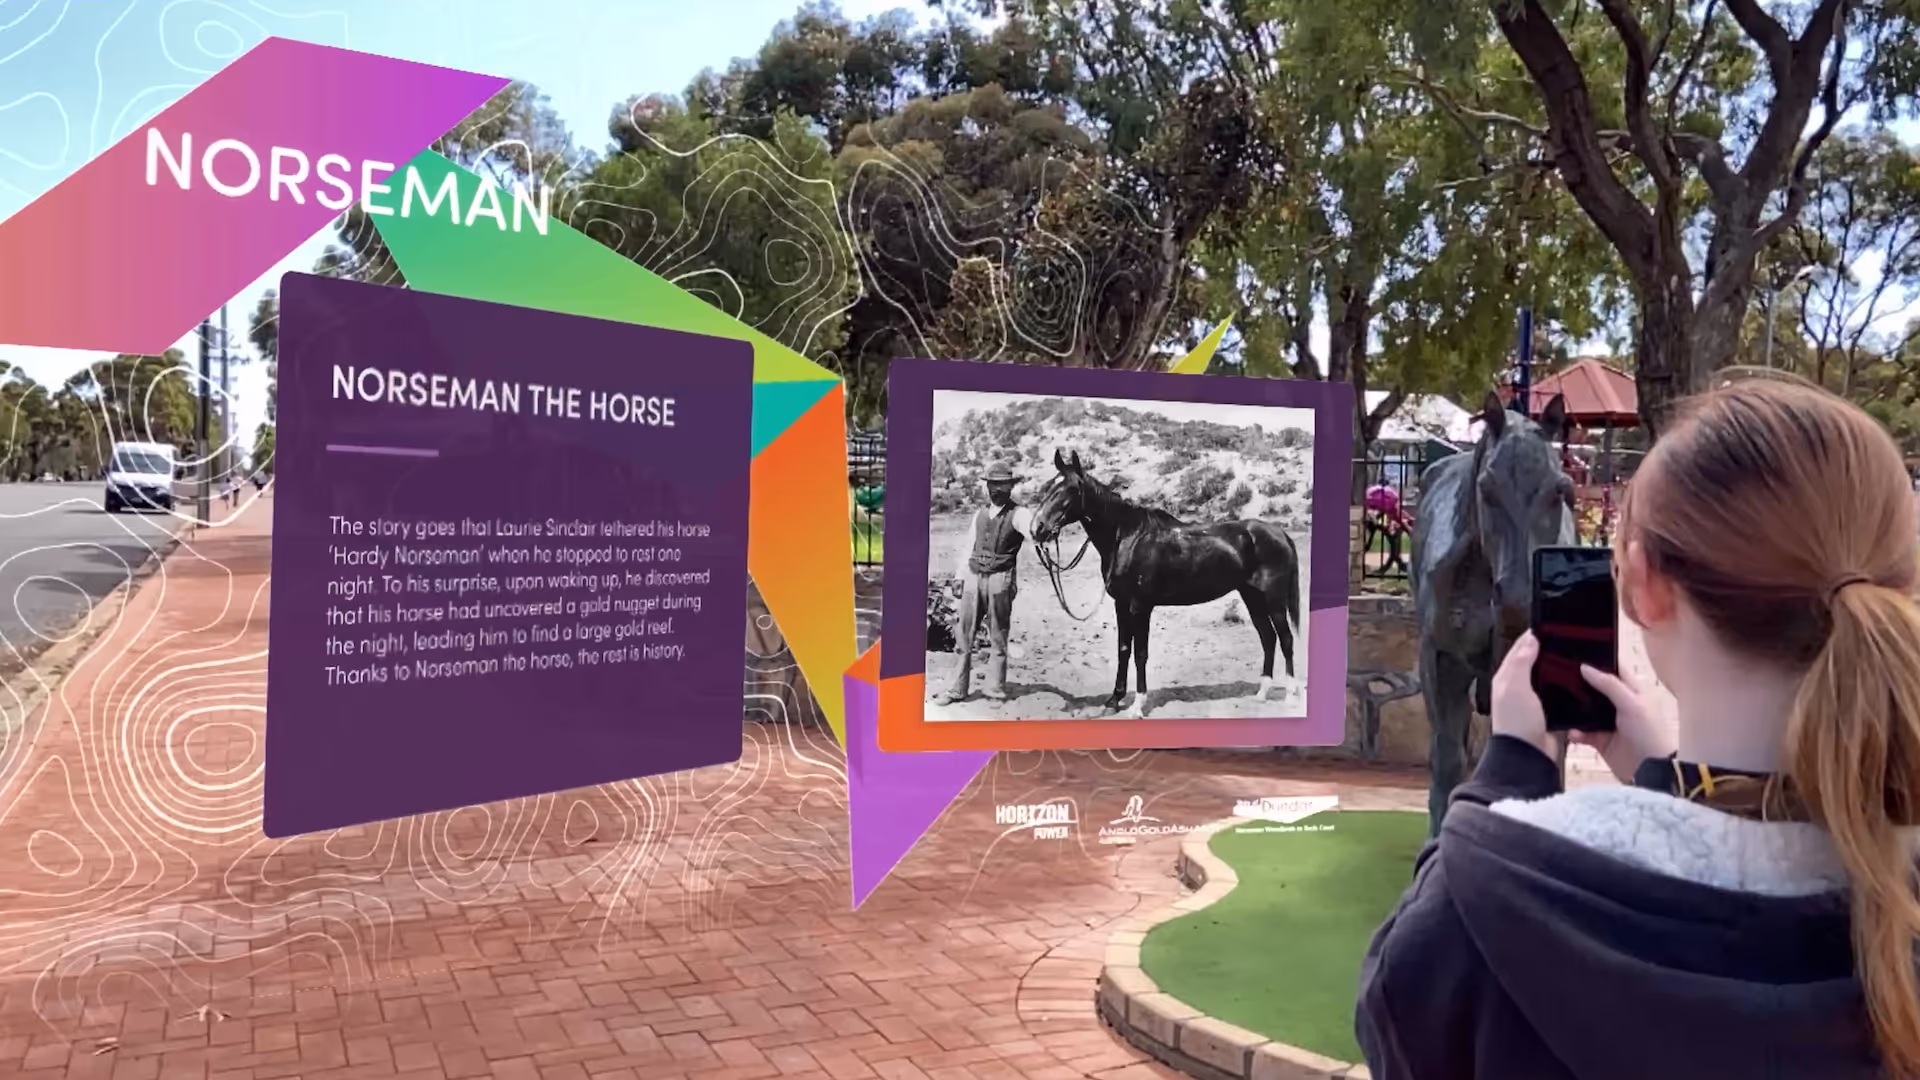
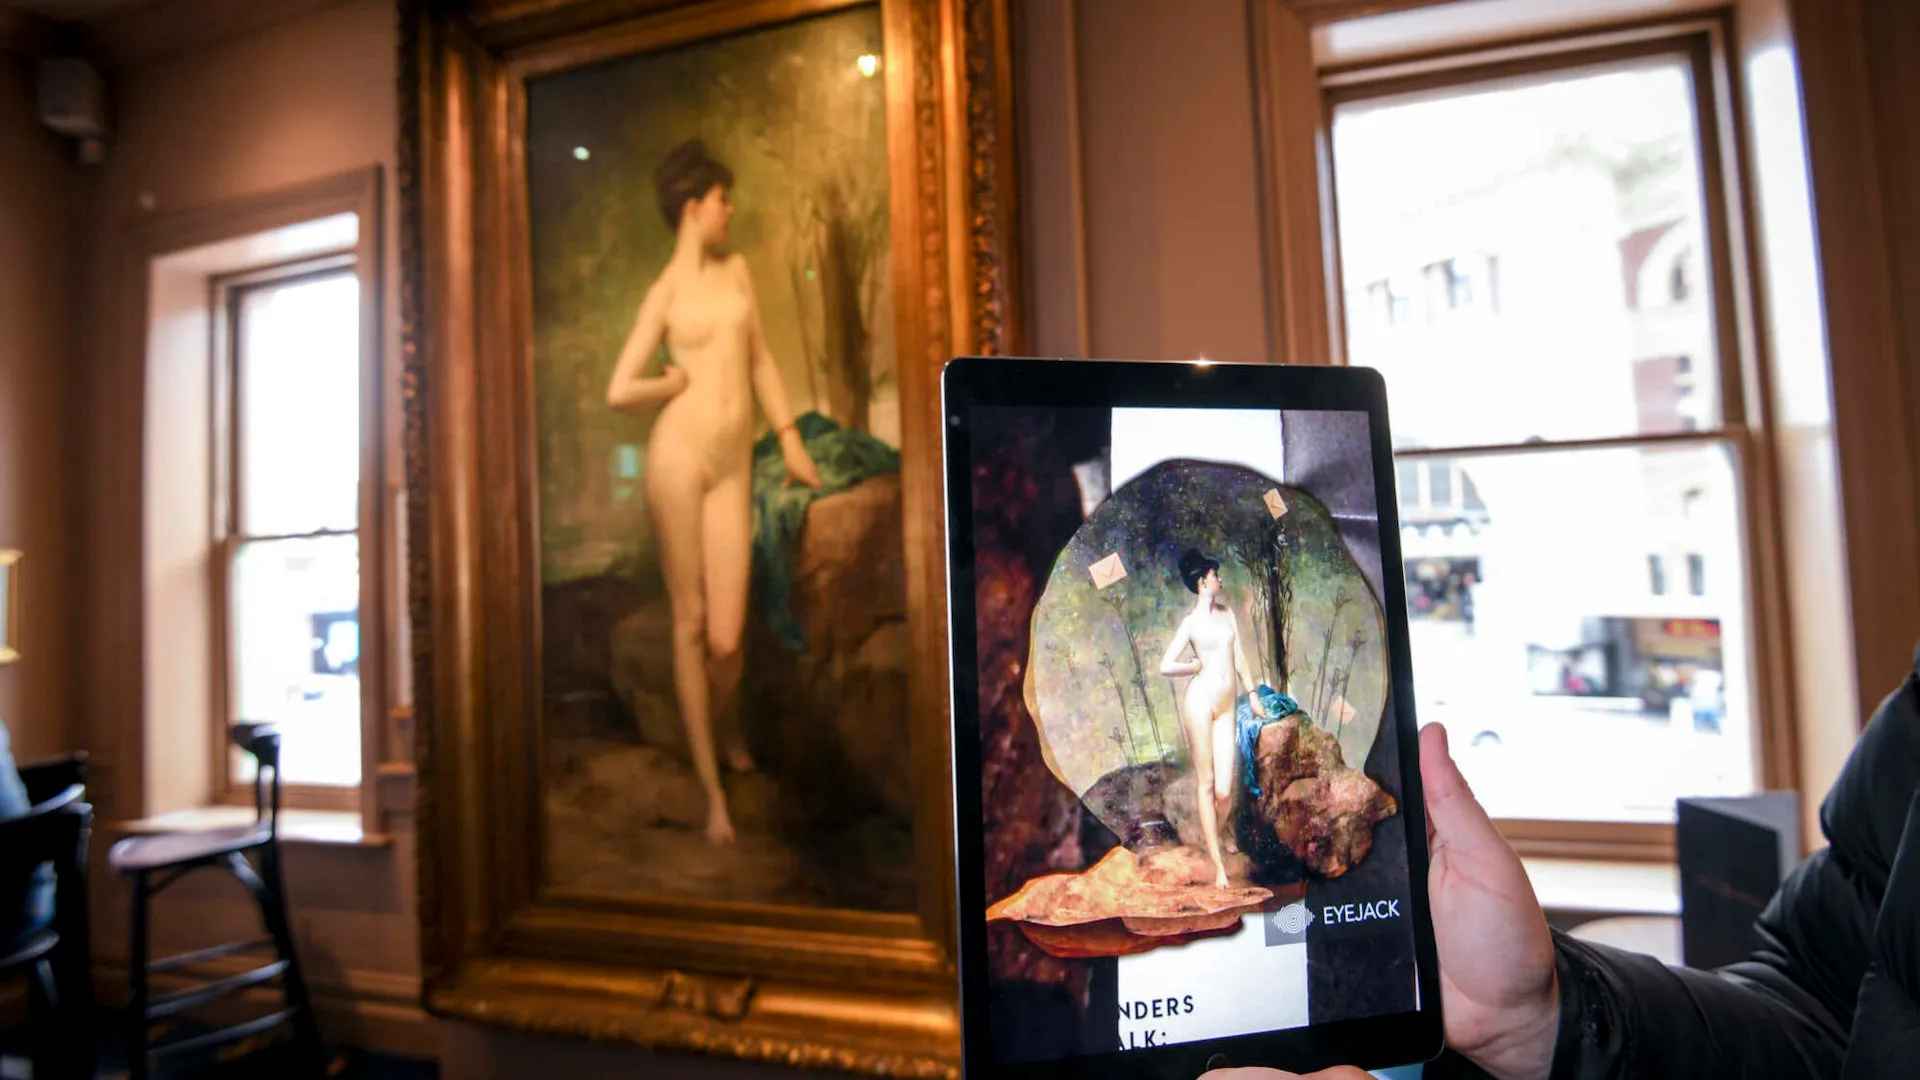
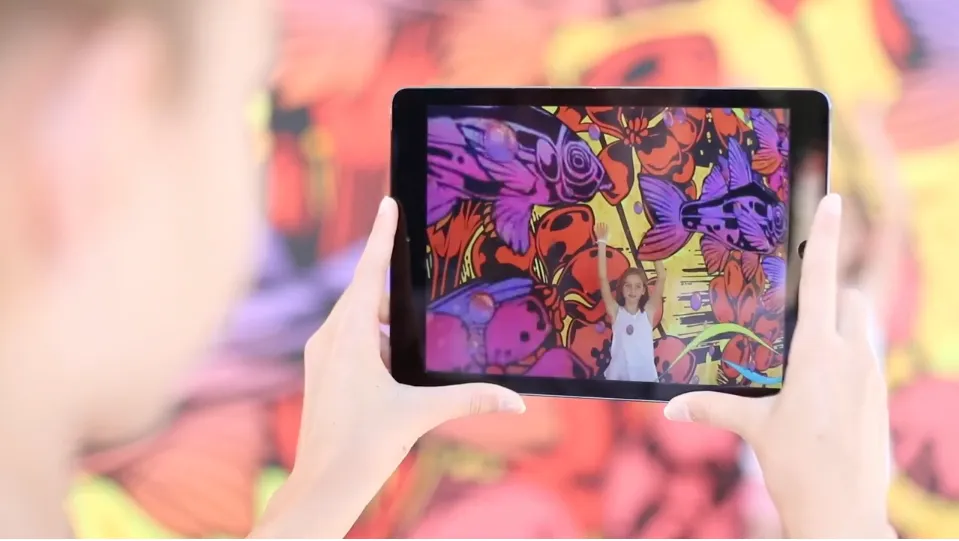
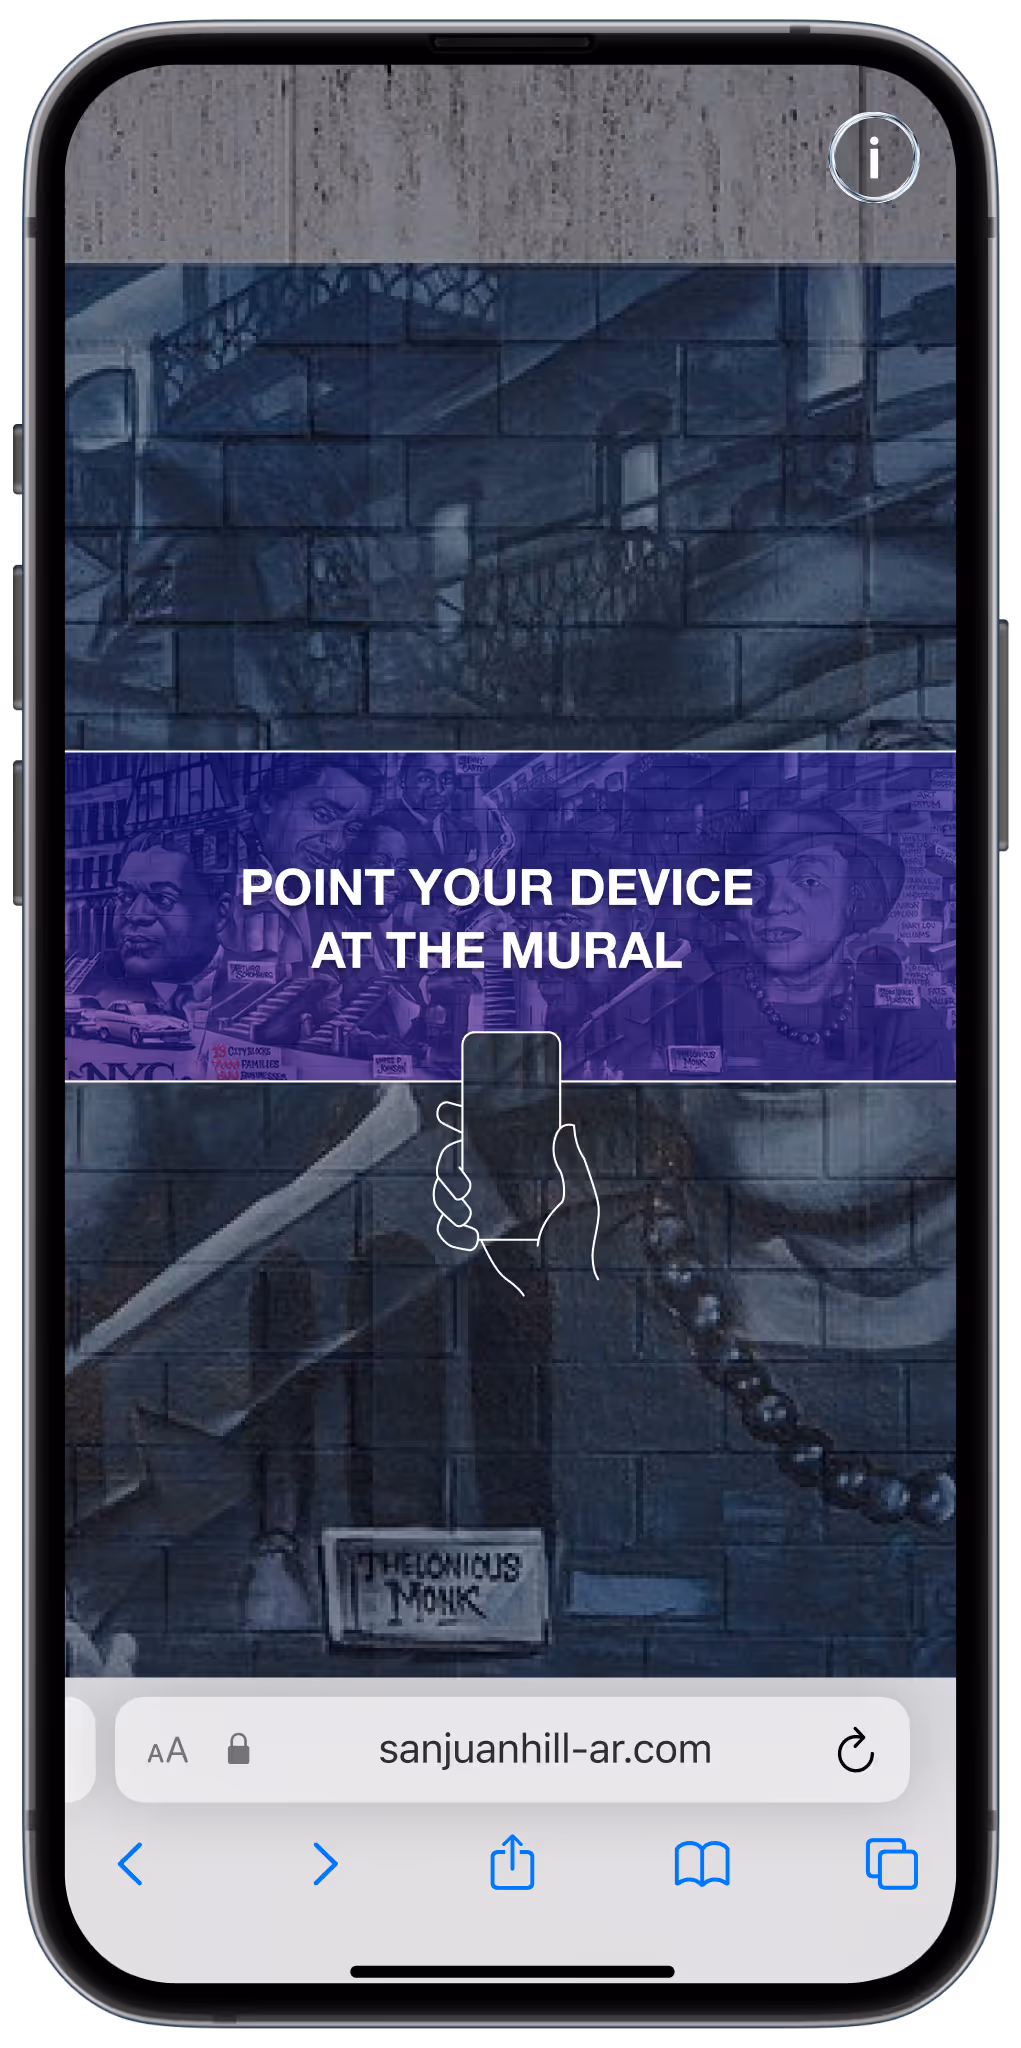
When a viewer scans the mural, digital content appears aligned to the artwork. This may include animation, 3D objects, sound, voice, archival material, interactive elements, subtitles, captions, games, wayfinding, or links to deeper content.
The mural remains powerful as a physical artwork, but AR gives it another dimension: time, movement, sound, story and interaction.
Adding Value
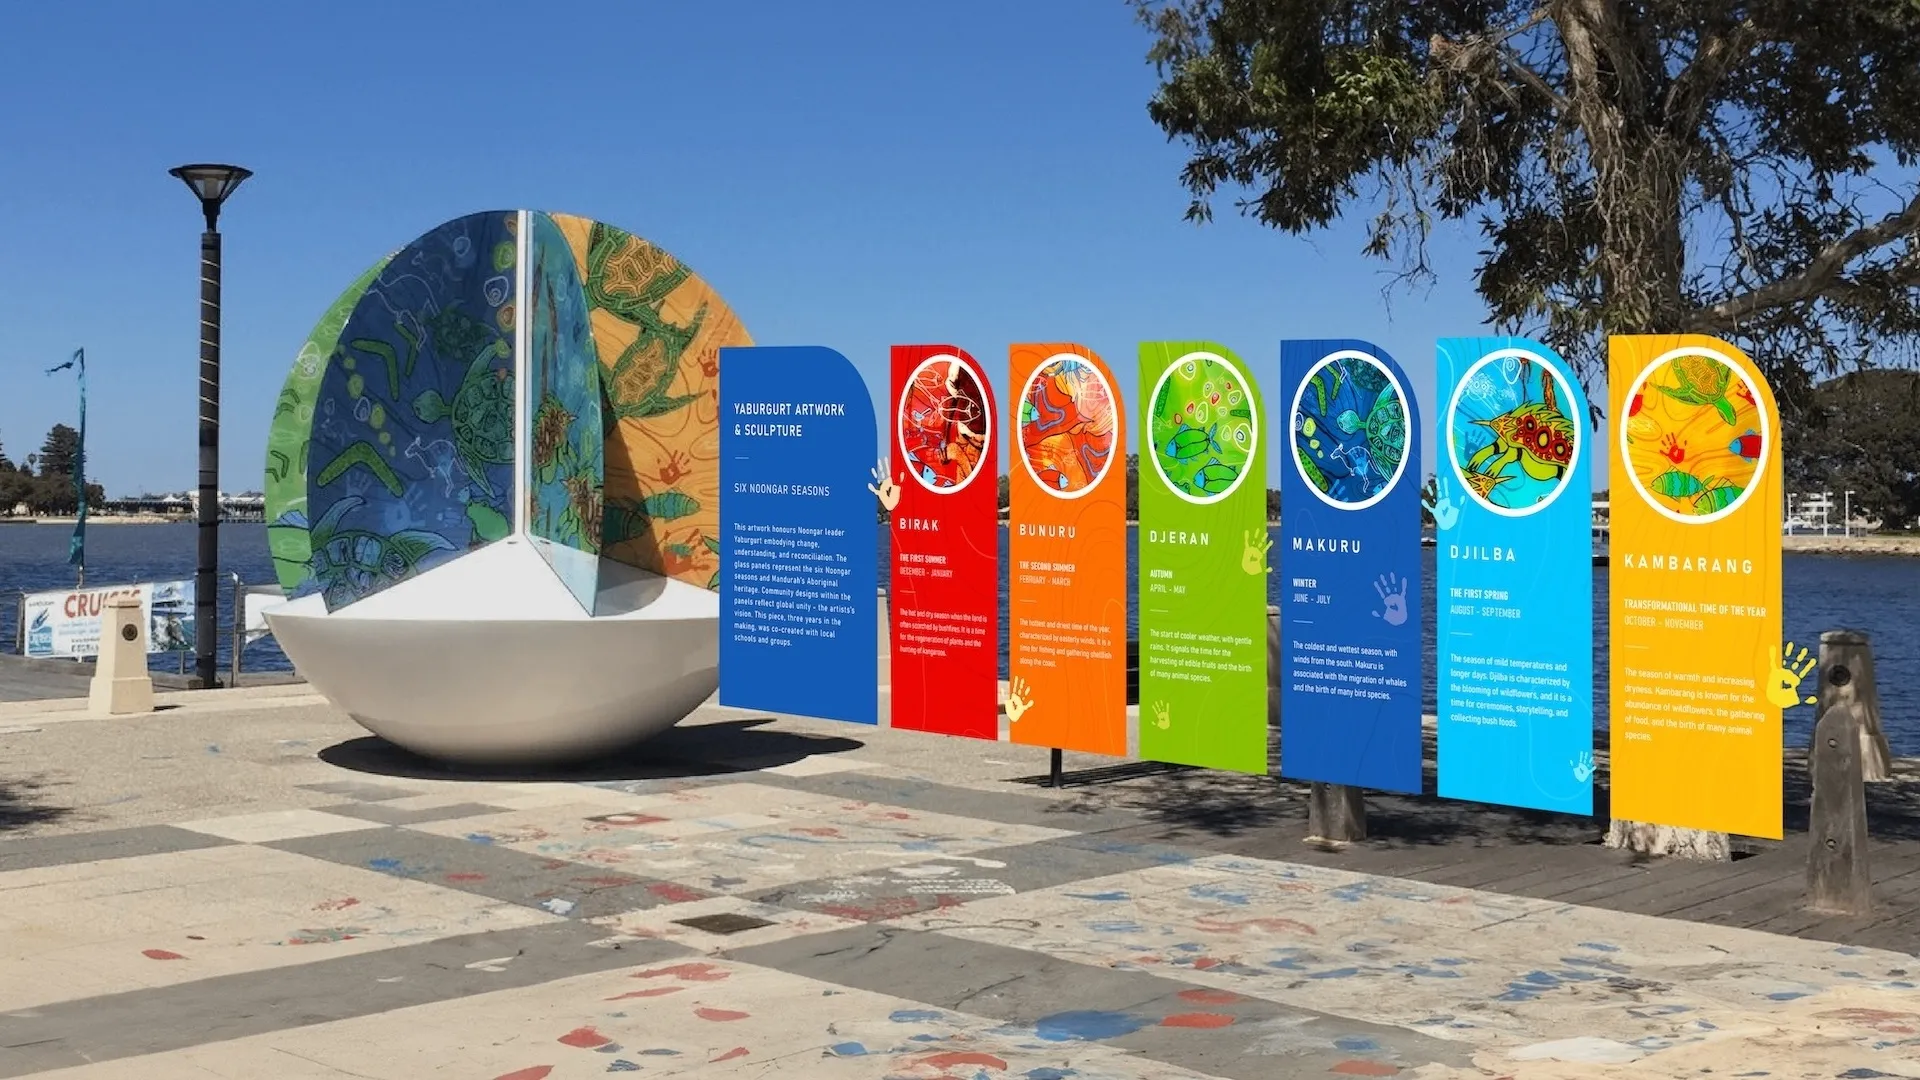
Murals have always played an important role in public culture. They make stories visible, activate overlooked spaces, celebrate identity, and create shared landmarks.
AR expands what a mural can do.
It allows a mural to become a portal into local history, community voices, artist process, environmental storytelling, education, tourism, or brand narrative. It can make a wall speak, move, transform, remember and respond.
For councils, cultural organisations and brands, AR murals offer a way to create public experiences that are accessible, scalable and memorable without requiring large permanent infrastructure.
Accessibility
Accessibility in an AR mural is not only about captions, transcripts, language options or supported devices. It is also about the physical conditions of the site.
Where does the viewer need to stand? Can they access that position safely? Is the mural visible from that point? Does the AR layer feel impressive on screen? Can people of different heights, mobility needs and comfort levels experience the work without difficulty?
An AR mural is not viewed in the abstract. It is experienced in a real public environment, with roads, footpaths, crowds, glare, shadows, noise, uneven ground and other people moving through the space.
This means accessibility needs to be considered as both a digital and physical design challenge.
Best Viewing Position
The best place to view a mural with the naked eye is not always the best place to experience it in AR. A large mural viewed from across a road may look impressive in person, but on a mobile screen the animated layer can appear small and distant. This can make the AR feel less immersive, even if the mural itself is physically large. One general rule we follow is that AR is most impressive when it fills the viewer's screen. If the mural only occupies a small part of the camera view, the viewer is probably too far away.
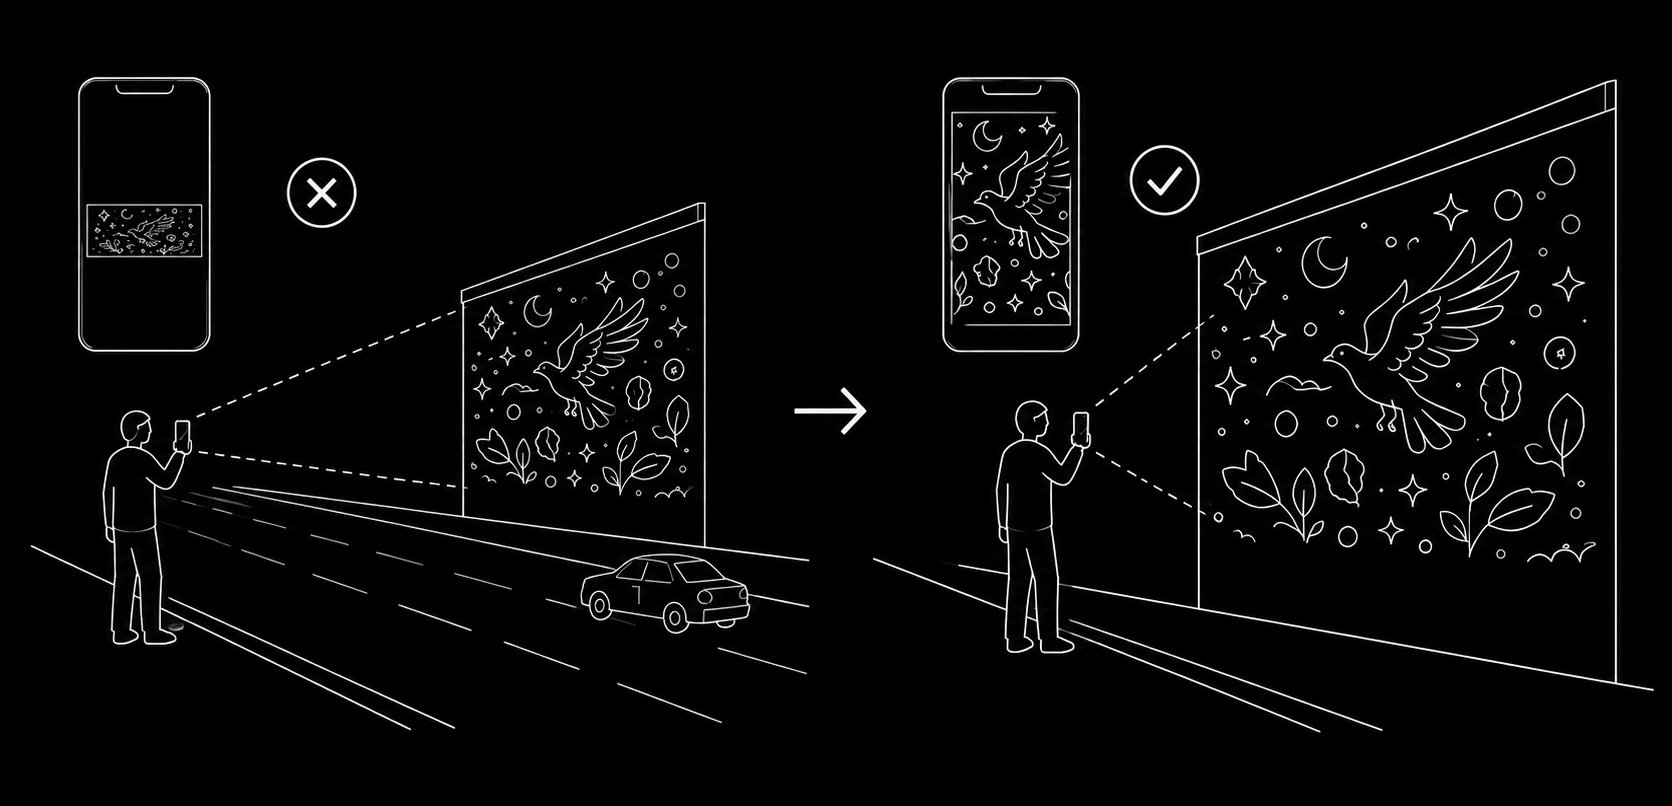
Another useful rule is to use the mural's largest dimension as a guide for viewing distance. For example, if a mural is 5 metres wide and 3 metres high, the viewer will usually need to stand around 5 metres back to fit the full mural within their mobile camera frame. This will vary depending on the phone, lens and camera settings, but it is a helpful starting point when planning the experience. It can quickly reveal whether the intended viewing position is realistic: if the mural is 5 metres wide but the viewer can only stand 2 metres back because of a narrow footpath, the full mural may not fit on screen. If the viewer needs to stand across a busy road to see the whole mural, the AR layer may become too small or the viewing position may be unsafe.

In these cases, it is often better to bring the intended viewing position closer to the wall and design the experience around a safer, more accessible vantage point, such as the footpath or a designated viewing area. This may mean designing the AR as a sequence of smaller sections rather than one large animation across the whole mural. Every site is different, so the creator should consider where people naturally approach from, where they can safely stand, how far they are from the wall, whether the mural fits within the camera frame, and how impressive the AR will feel from that position.
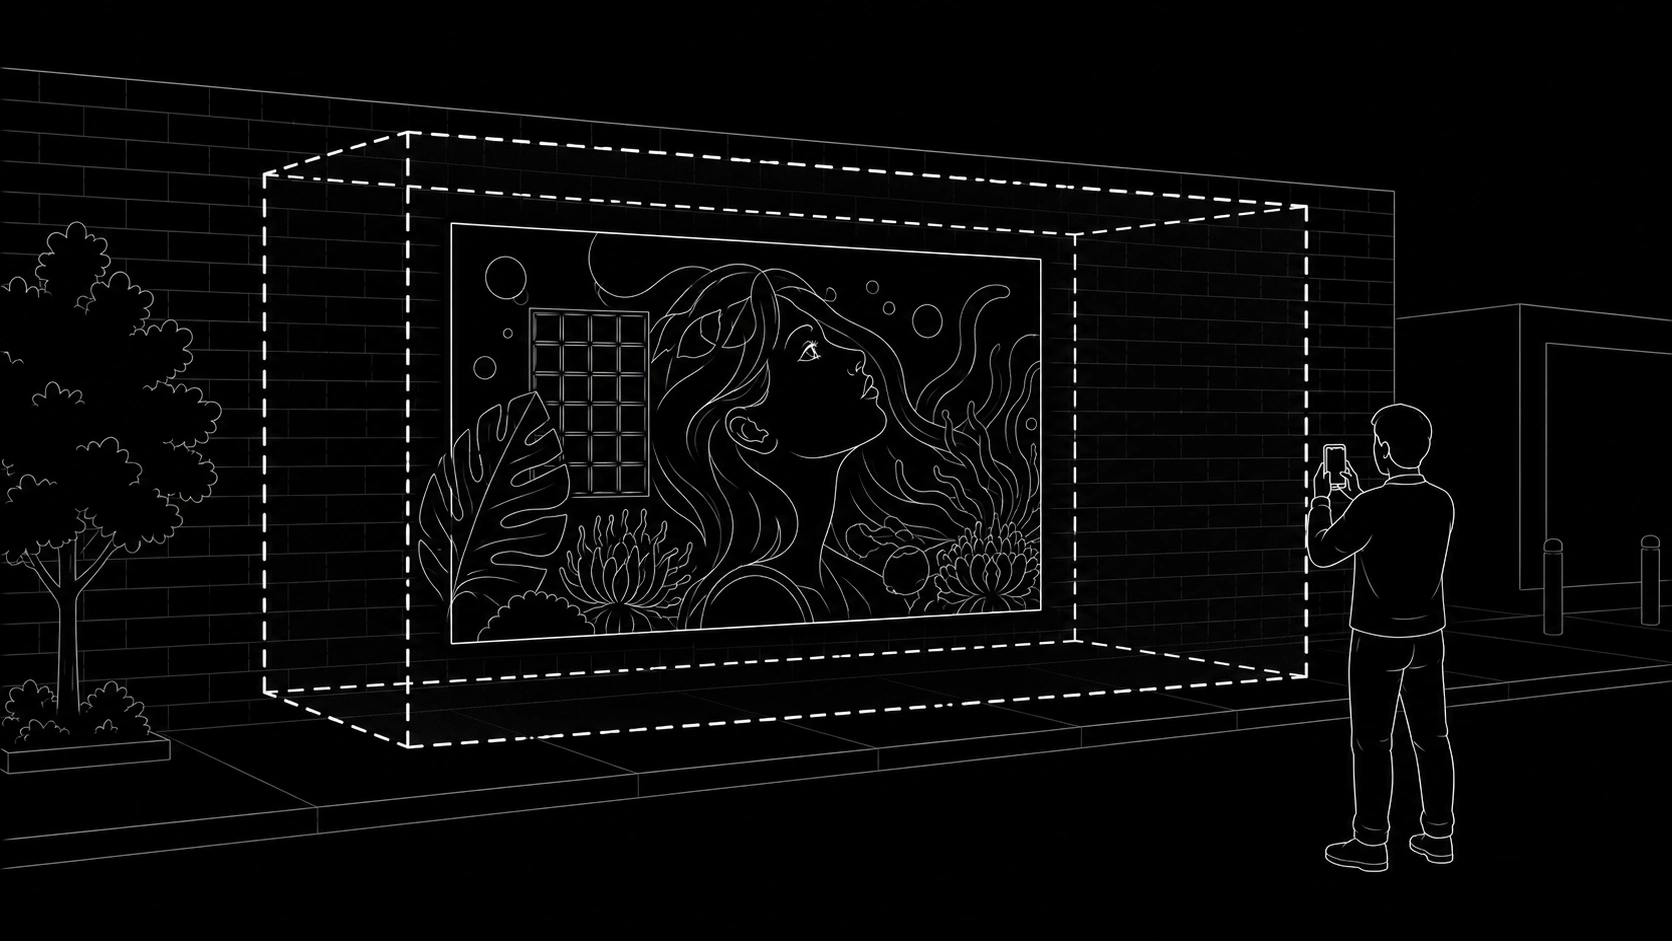
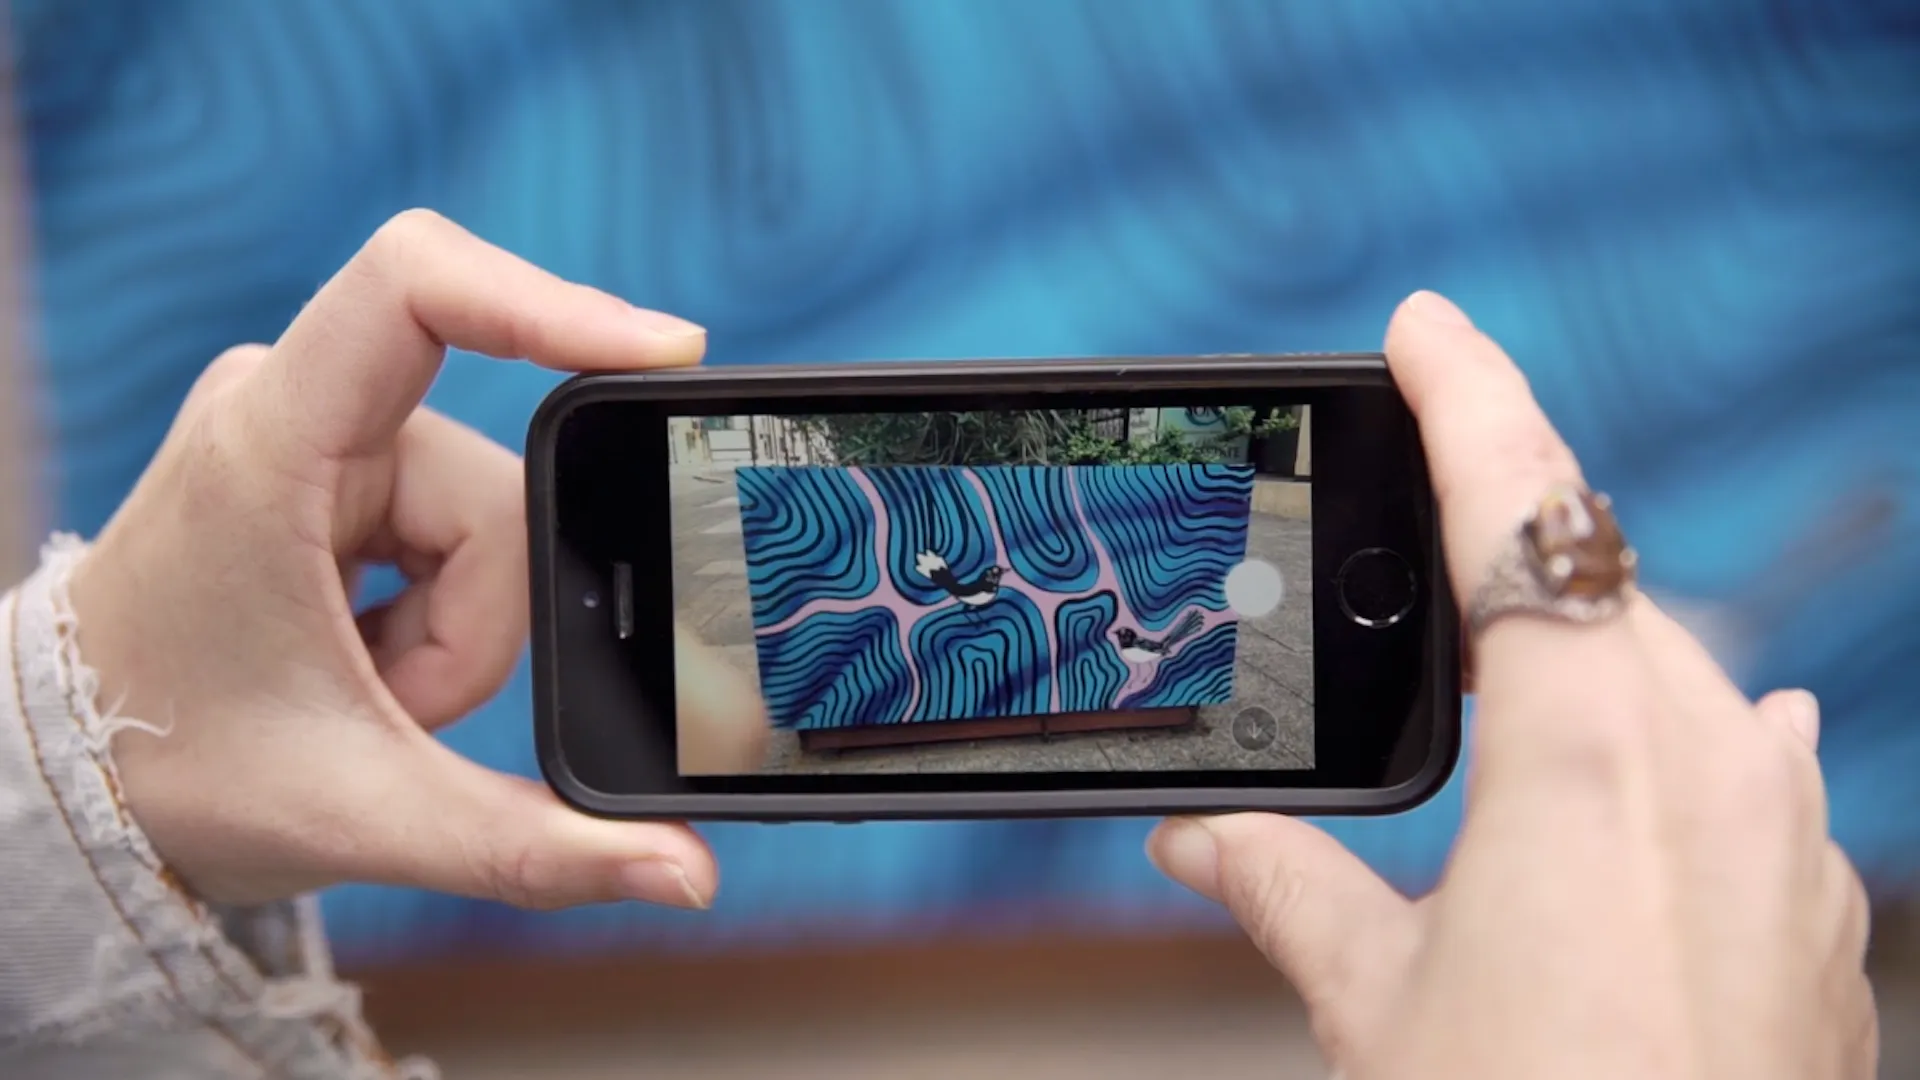
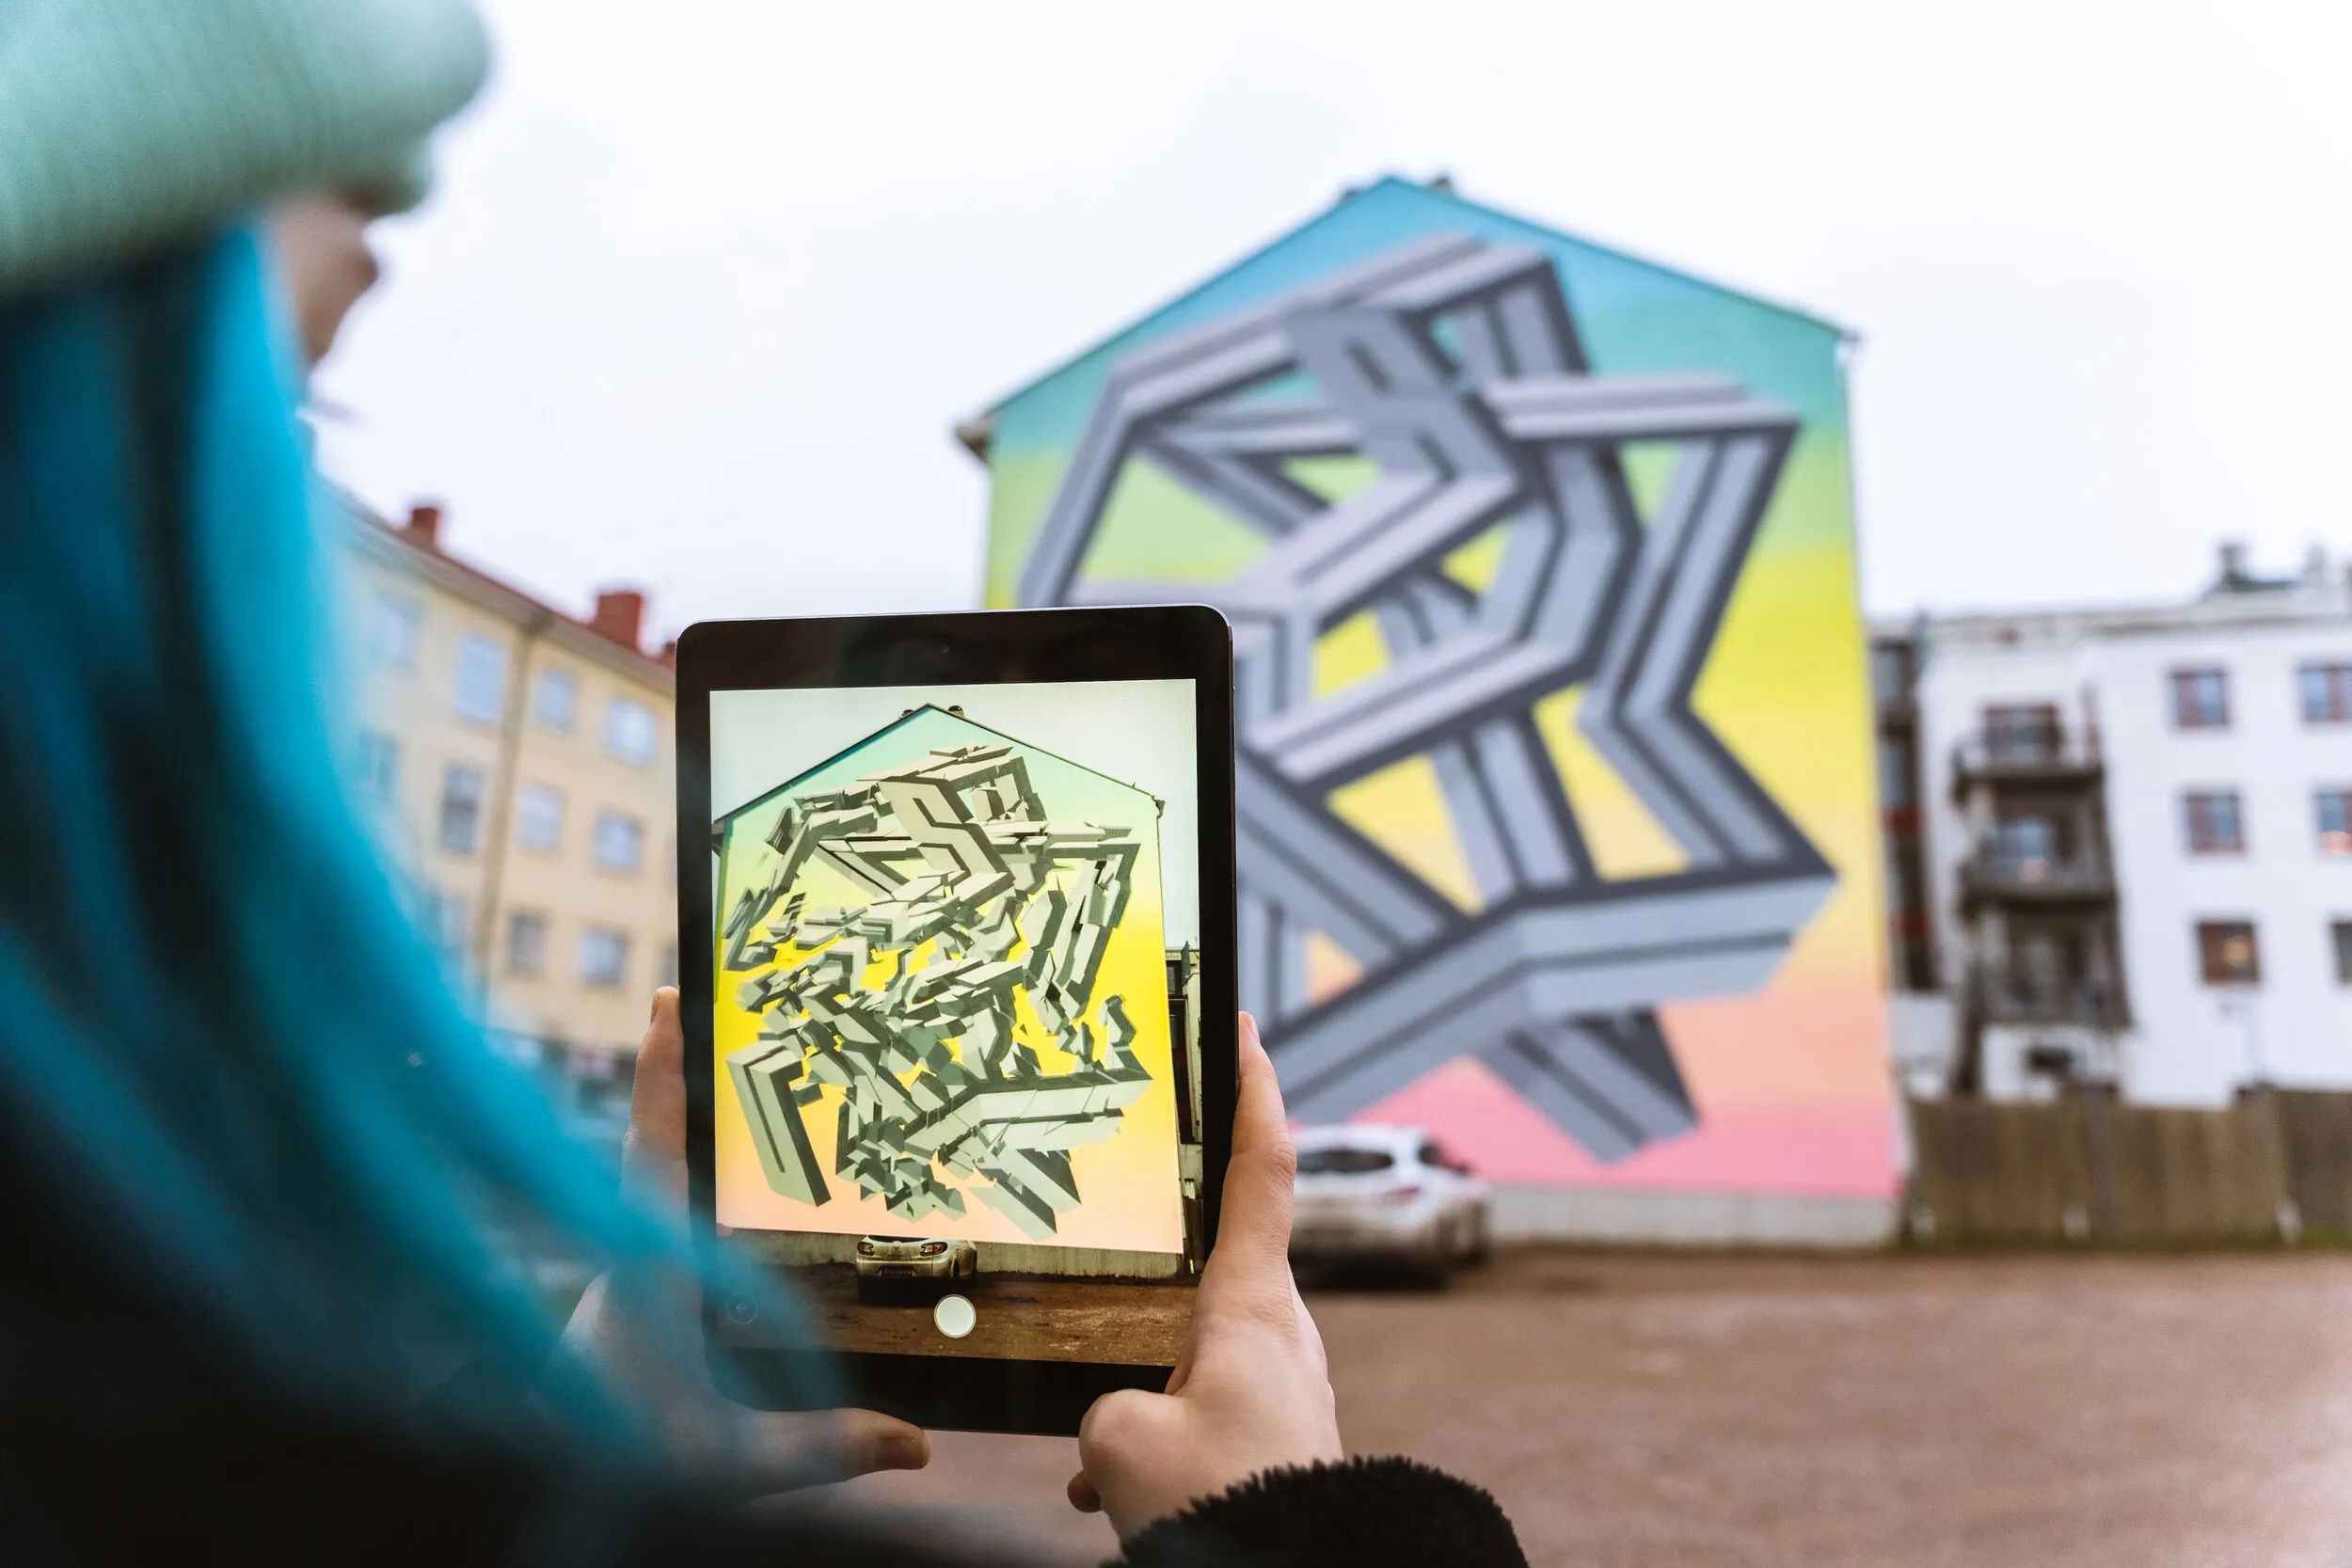
Capture a Clean Image Target
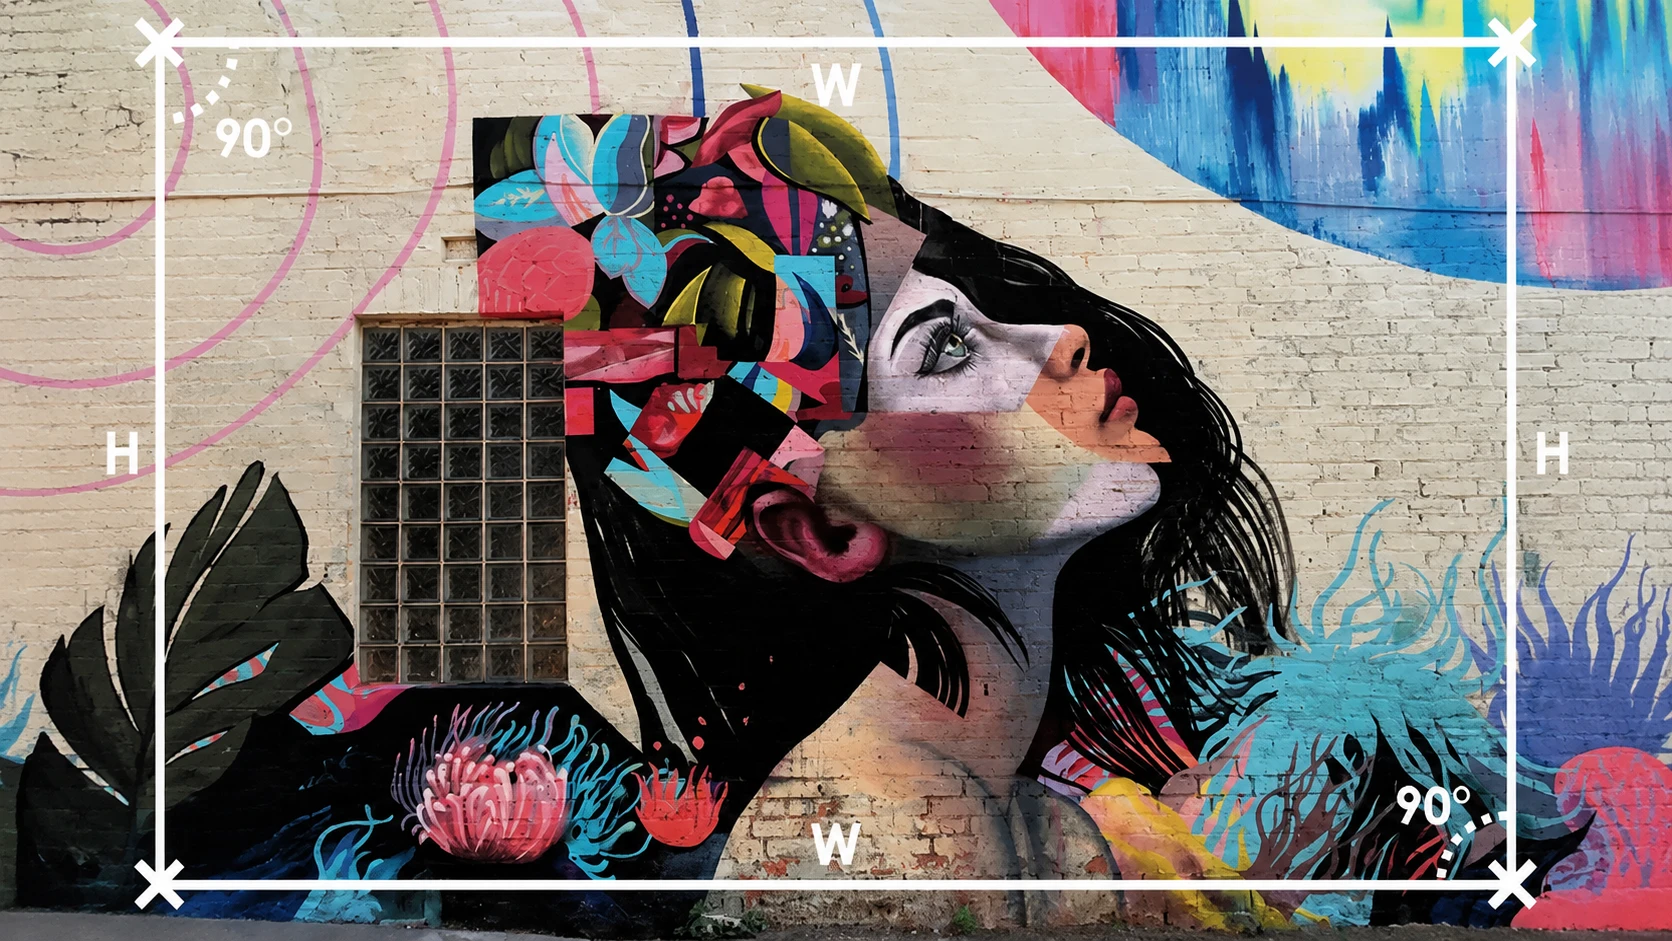
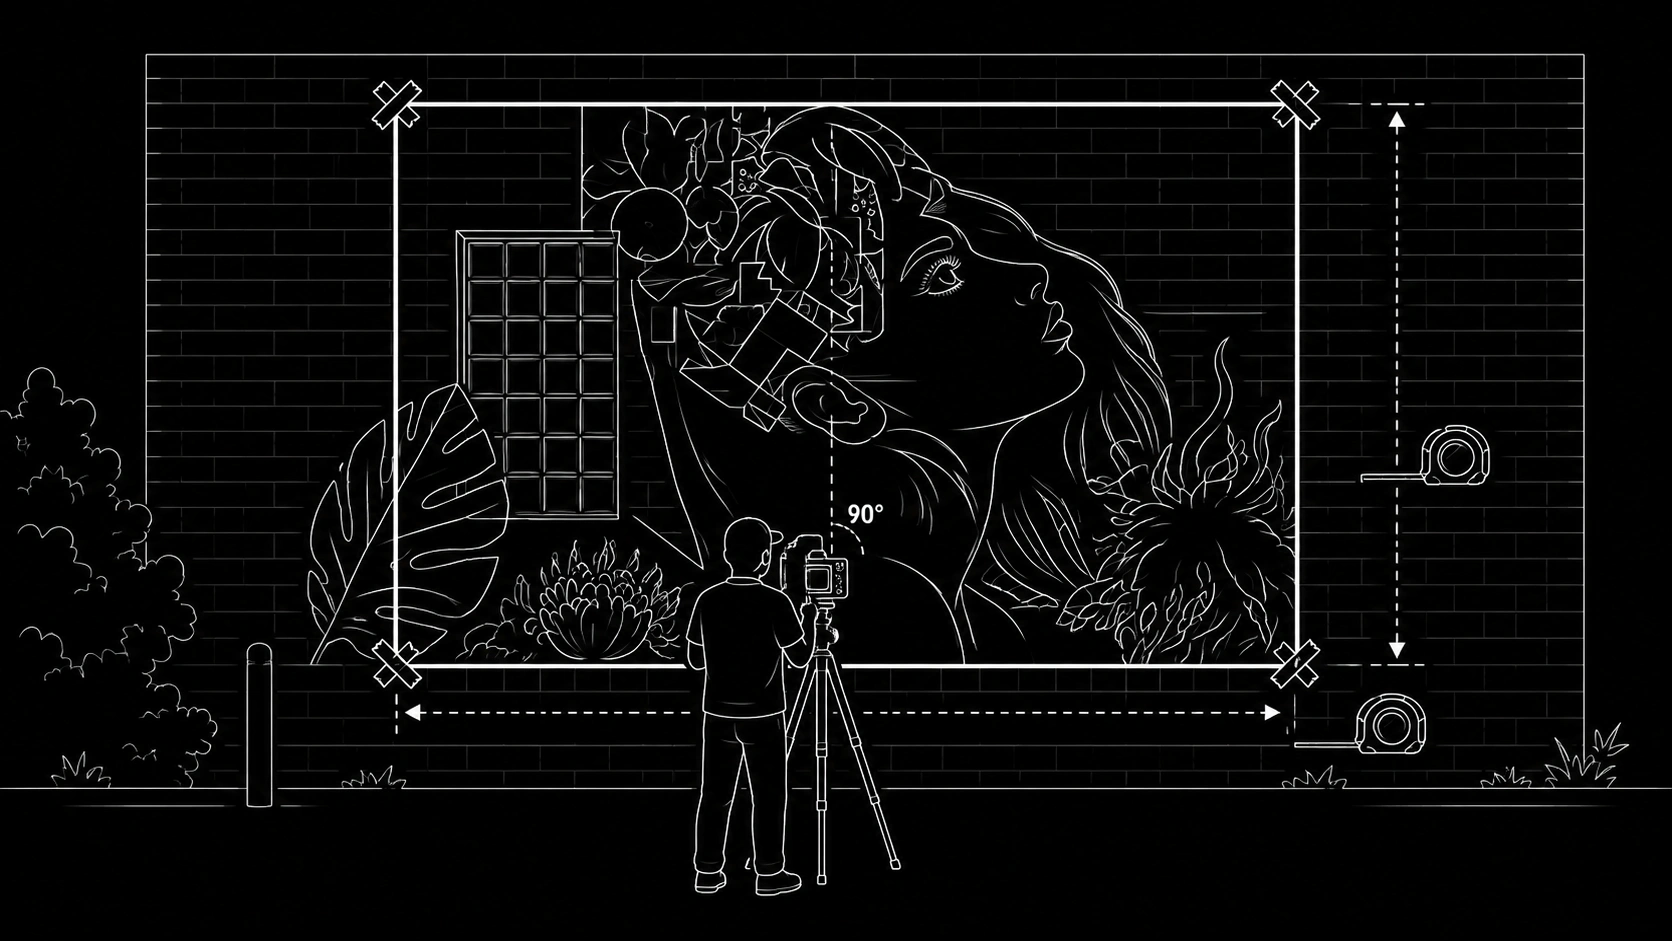
The first technical step in creating an AR mural is to capture a clean image target. This is the reference image the AR animation will be aligned to, so the easiest production approach is for the mural photograph and the digital overlay to share the same dimensions and match perfectly. Any distortion, angle or mismatch in proportion can make the animation harder to align accurately.
The mural should be photographed straight on, not from an angle. The camera should be positioned as close to 90 degrees from the wall as possible, with the full target area captured clearly and evenly. We recommend marking the corners of the image target area with tape before photographing, so the exact frame is visible and easy to align. A measuring tape should also be used to record the height and width of the marked area, so the animation can be created at the correct proportions.
If the mural is very large, or if the site does not allow the photographer to stand far enough back, it may be better to divide the mural into multiple image targets. Each section can be photographed straight on and used as its own target, allowing the AR experience to activate in smaller, more stable sections rather than relying on one large image.
Good source photography makes the rest of the AR process easier. The image should be sharp, evenly lit and high resolution, with no motion blur, heavy shadows, glare, obstructions, people, cars or temporary objects covering the mural. Extra reference photos from different distances and angles can be useful, but the main tracking image should be the cleanest, flattest and most accurate front-on photograph possible.
Scan the Mural in 3D
A more modern way to capture large murals is to scan the site in 3D rather than relying only on manual measurement and a precise front-on photograph. This can be especially useful when the mural is too large to photograph easily, when there is not enough room to stand back, or when the wall is in a difficult public location.
Using a phone with LiDAR, the mural can be scanned with apps such as RealityScan or Polycam. The process involves capturing the mural from multiple angles and distances, allowing the software to reconstruct the wall as a 3D model with real-world scale and dimensions. The LiDAR data helps improve spatial accuracy during the scan, while the photos provide the texture and visual detail of the mural.
Once the mural has been reconstructed as a 3D model, tools like planefinder.eyejack.io can be used to detect the flat wall surface and extract a high-resolution image target with accurate measurements. This gives the production team a clean, dimensioned reference image without needing to manually photograph the mural perfectly straight on.
This approach can make large mural capture faster, more flexible and more reliable. It also creates a useful 3D record of the site, which can help with planning, alignment, testing and future documentation. The result is still the same goal: a clean image target with known dimensions, ready for the AR animation to align to.
Make It Stable
For image-based AR, the mural needs enough visual detail for the camera to recognise it reliably. Strong tracking usually benefits from high contrast, clear shapes, distinctive visual features, asymmetry, and texture or detail across the mural. Large flat colour areas, repeated patterns, reflective surfaces and low-contrast gradients can make tracking less reliable.
The best approach is to test the mural before committing to the full animation. A simple test AR overlay can be placed on the artwork to check whether it sticks cleanly to the wall. The experience should be tested from different distances, angles and vantage points, including the places where viewers are most likely to stand.
Good tracking should feel stable. The AR layer should hold its position without obvious jittering, sliding or drifting. If the tracking is unstable, the final animation will appear to jump around on the mural, which quickly breaks the illusion. Testing early gives the team time to adjust the artwork, tracking image, viewing position or technical approach before the full AR animation is produced.
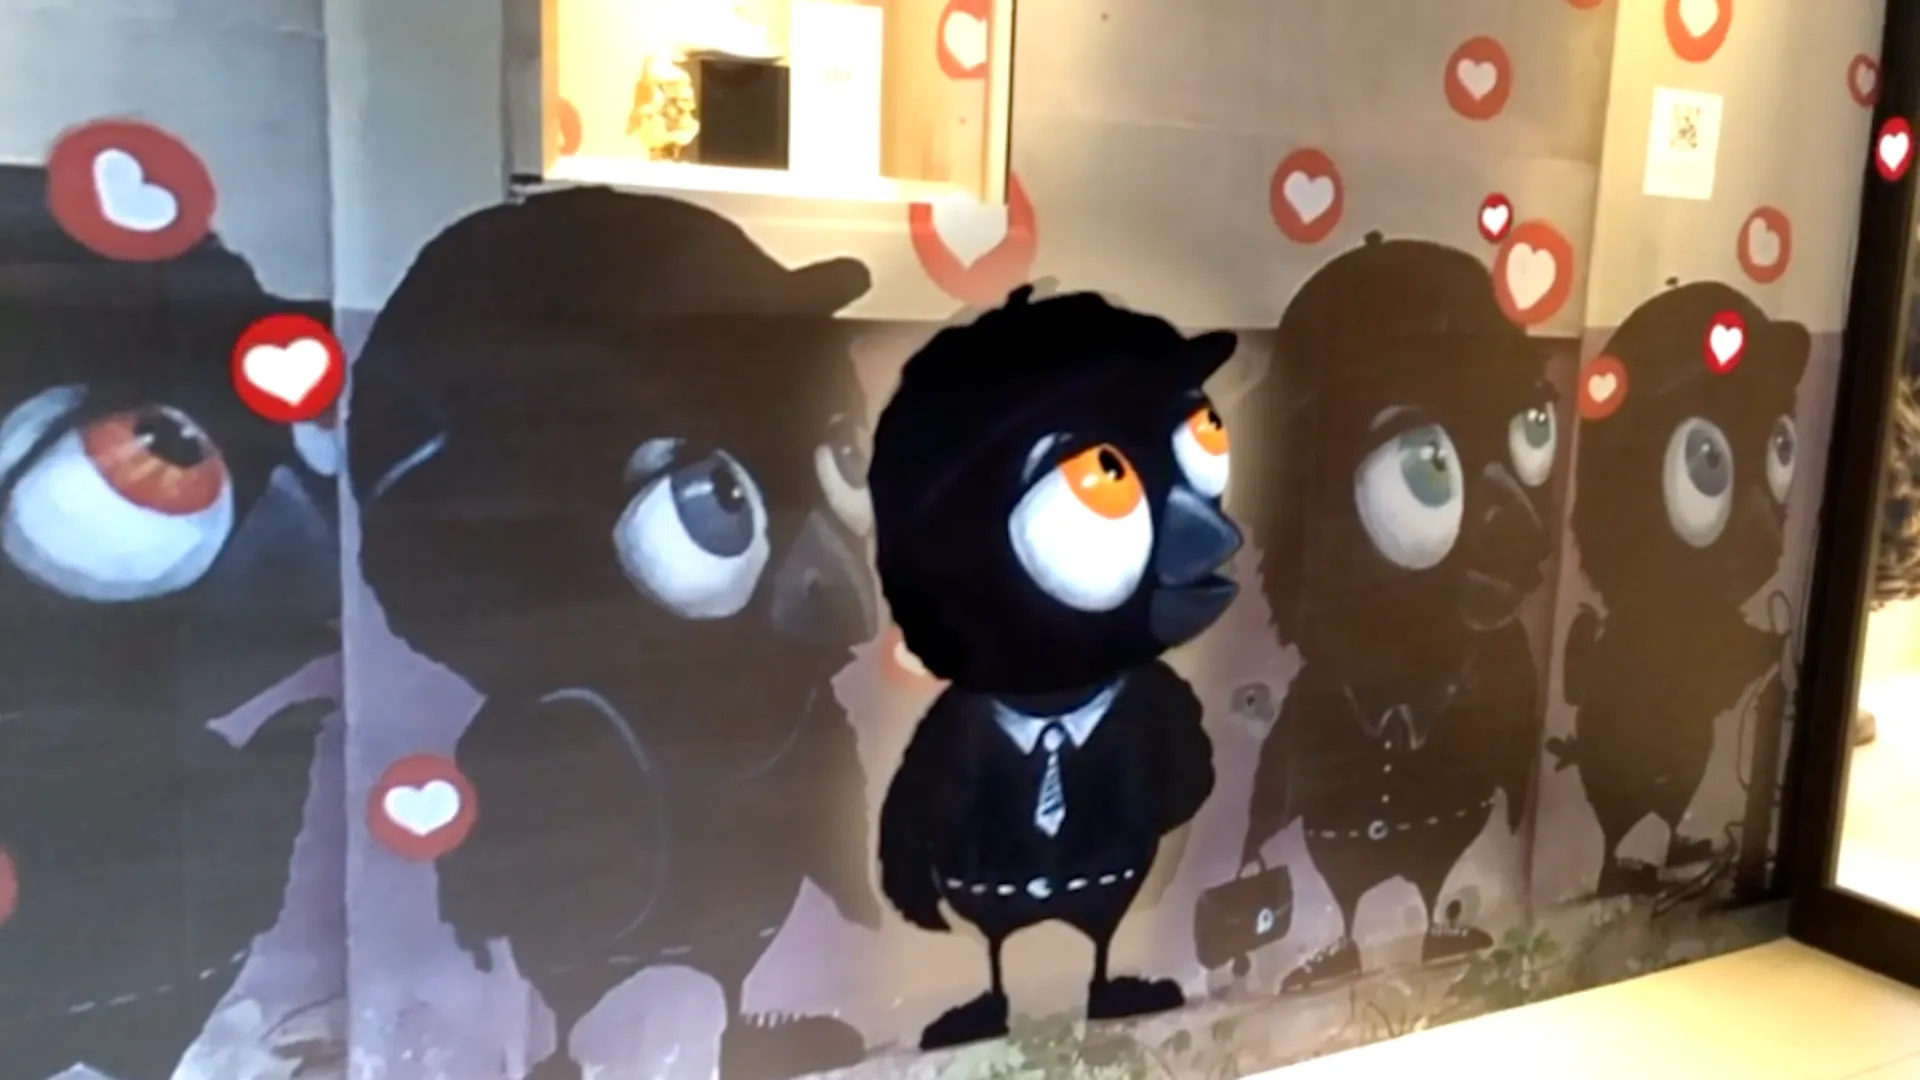
Testing one mural as an image target: unstable, poor tracking
Testing a different mural as an image target: stable, strong tracking
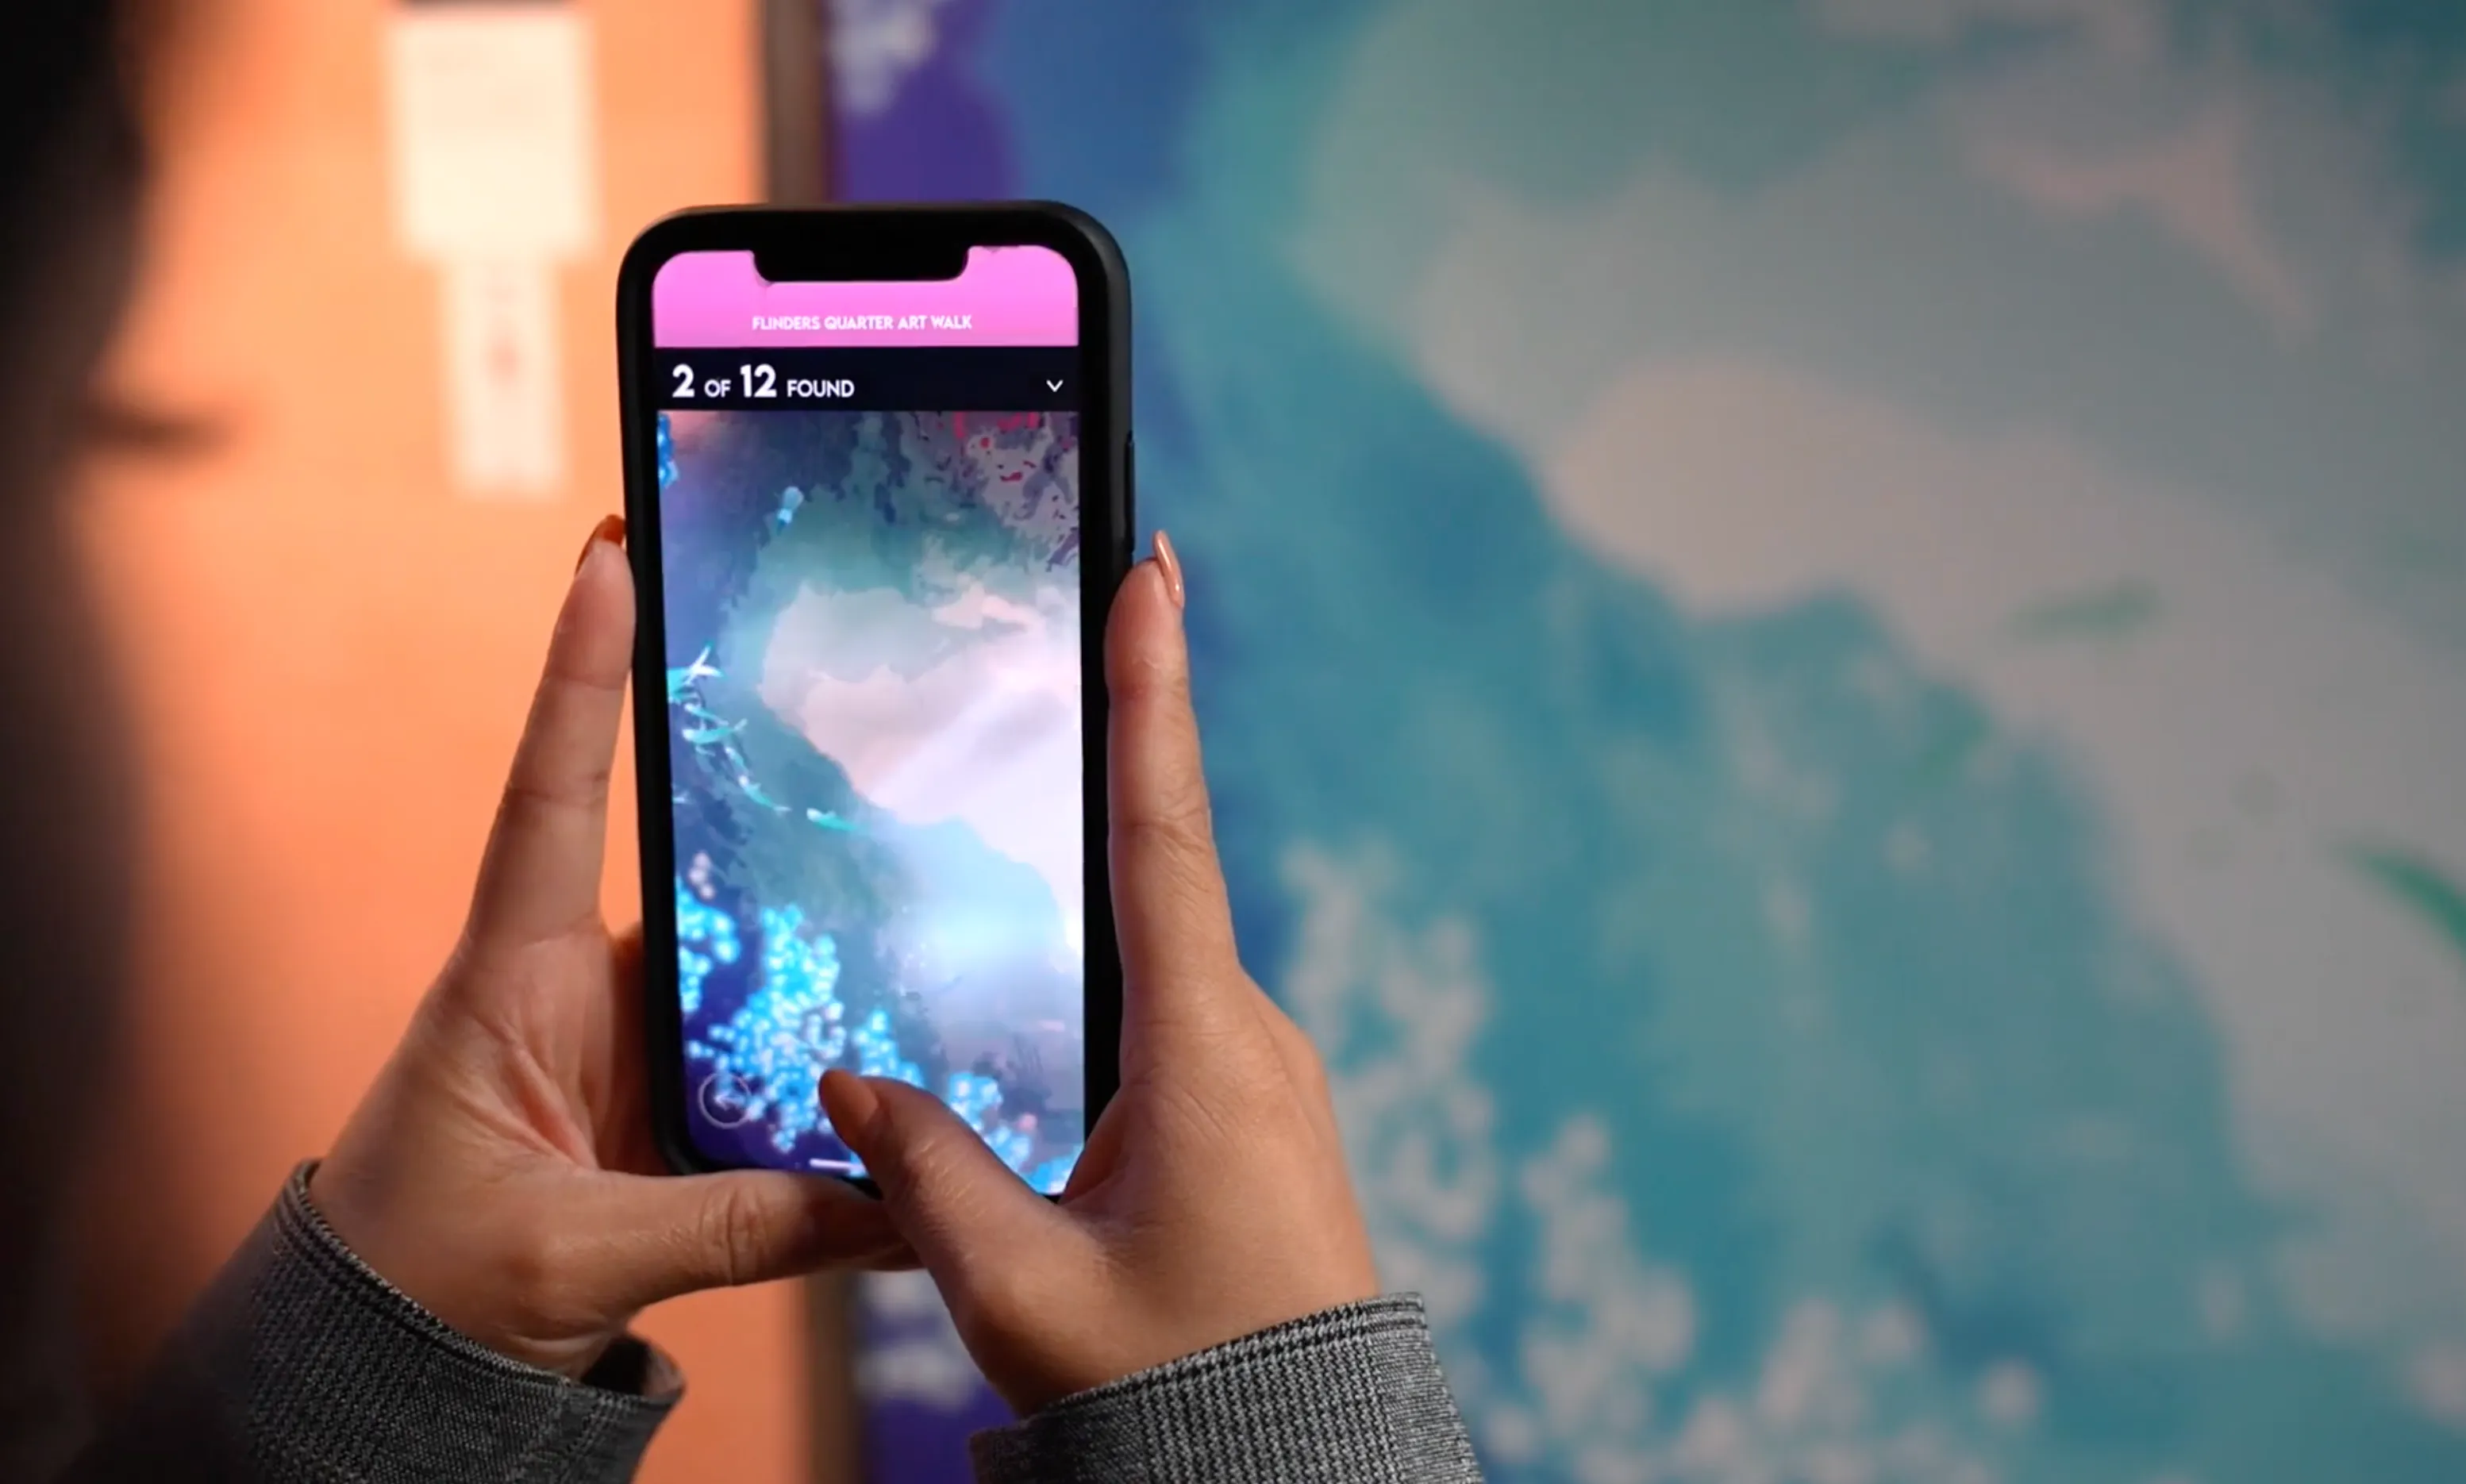
Onboarding
The viewer should not have to work out the experience on their own. Once someone scans the QR code, the onboarding should explain the best way to view the AR mural in that specific location. This may include where to stand, whether to move closer, whether the mural is experienced as one full animation or in smaller sections, and whether sound or headphones are recommended. These instructions are especially important when the best AR viewing position is not immediately obvious.
Good onboarding improves accessibility, safety and impact. It helps people understand how to move through the site, where to begin, what to look at, and how to experience the AR layer in the way it was designed to be seen. Every physical environment is different, so onboarding should not be generic. It should respond to the actual site, the scale of the mural, the available viewing positions and the way the AR content has been structured.
2D to 3D
There are different ways to create movement and depth in an AR mural. The right approach depends on the artwork, the budget, the technical constraints and the kind of experience you want to create.
2D animation is often the most efficient and visually cohesive option, especially for illustrated murals. Artwork layers can be separated and animated directly over the wall, allowing characters, patterns, textures or objects to come to life while still feeling connected to the original artwork.
2.5D animation adds a stronger sense of depth by separating the artwork into foreground, middle-ground and background layers. This can create parallax, camera movement and dimensionality without requiring a full 3D production pipeline. It is a useful middle ground when the experience needs to feel more immersive but still retain the visual style of the mural.
3D animation allows models, characters, objects or environments to appear inside the mural or extend out into the viewer's space. This can be powerful, but it usually requires more modelling, lighting, optimisation, testing and performance management. The best choice is not always the most complex one. The animation approach should serve the idea, the artwork and the way people will experience the mural on site.
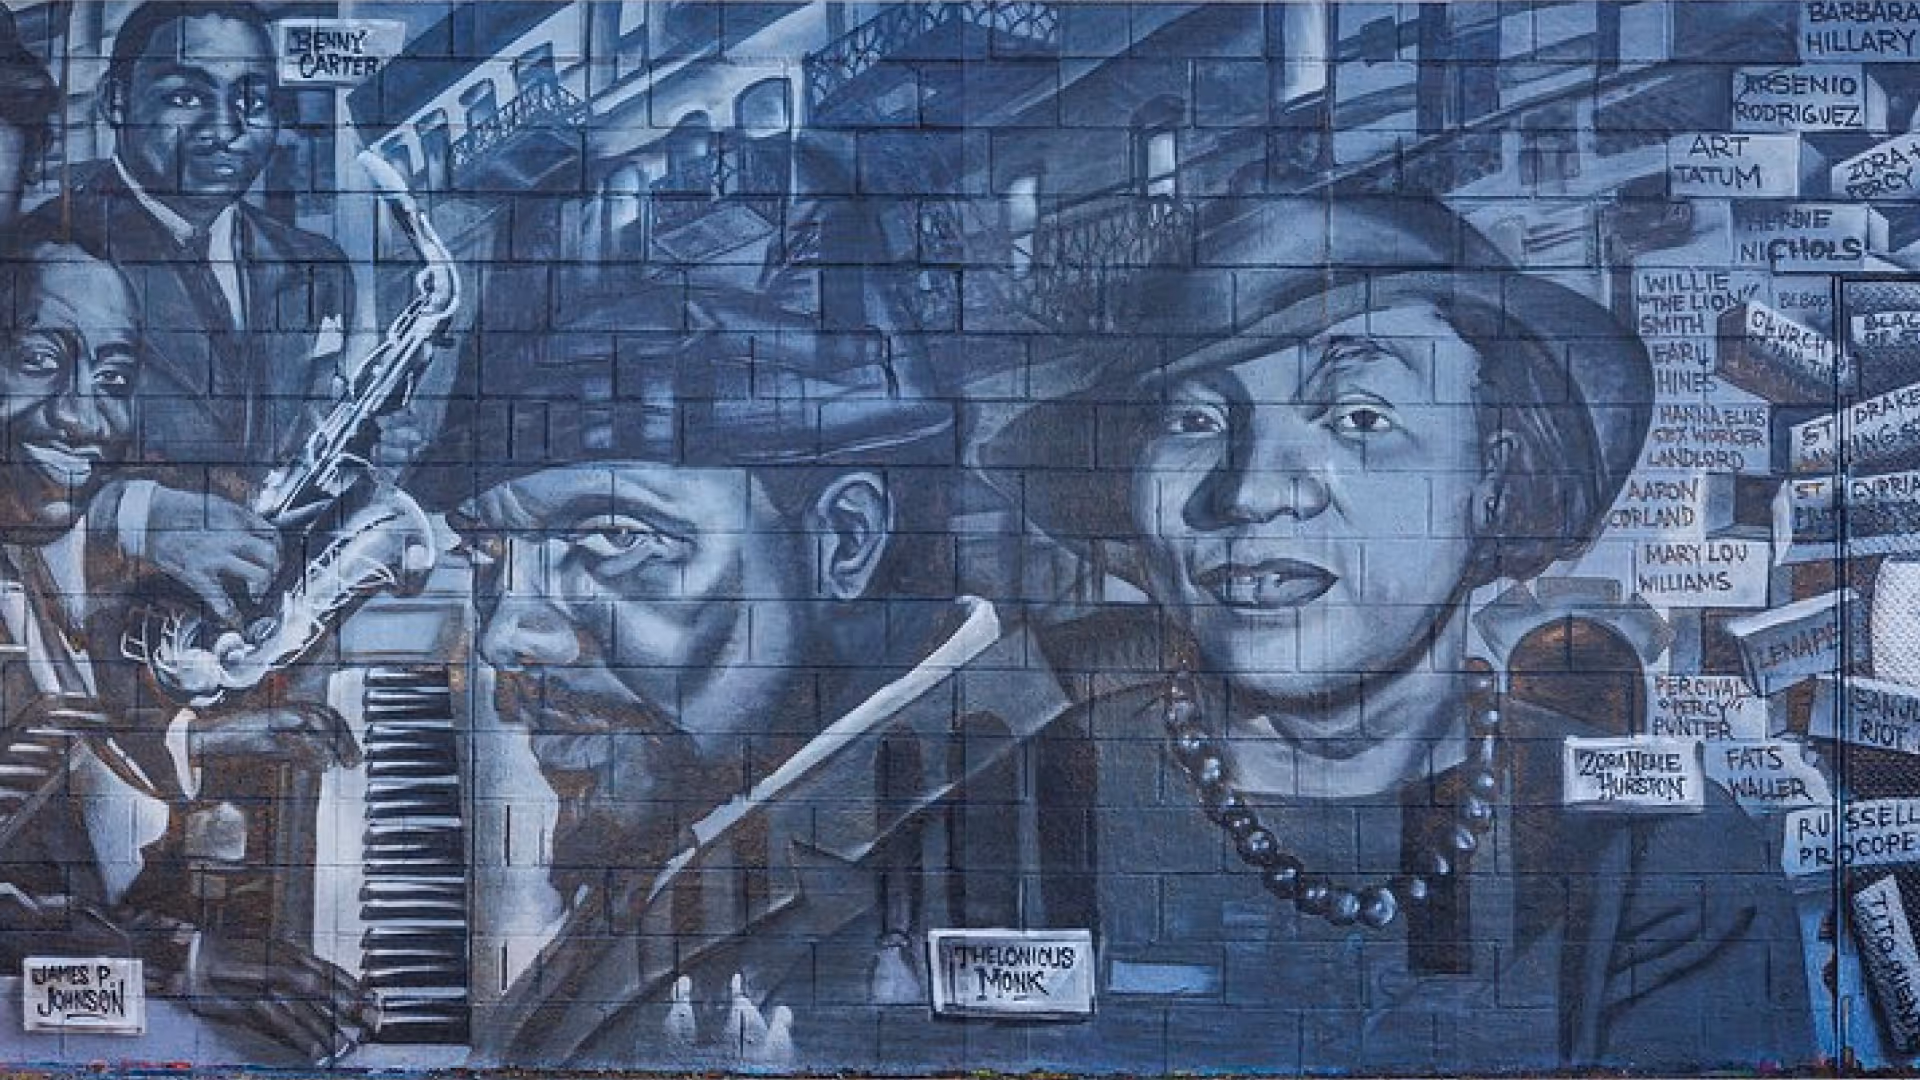
Princess Margaret Hospital mural
Extending the Canvas
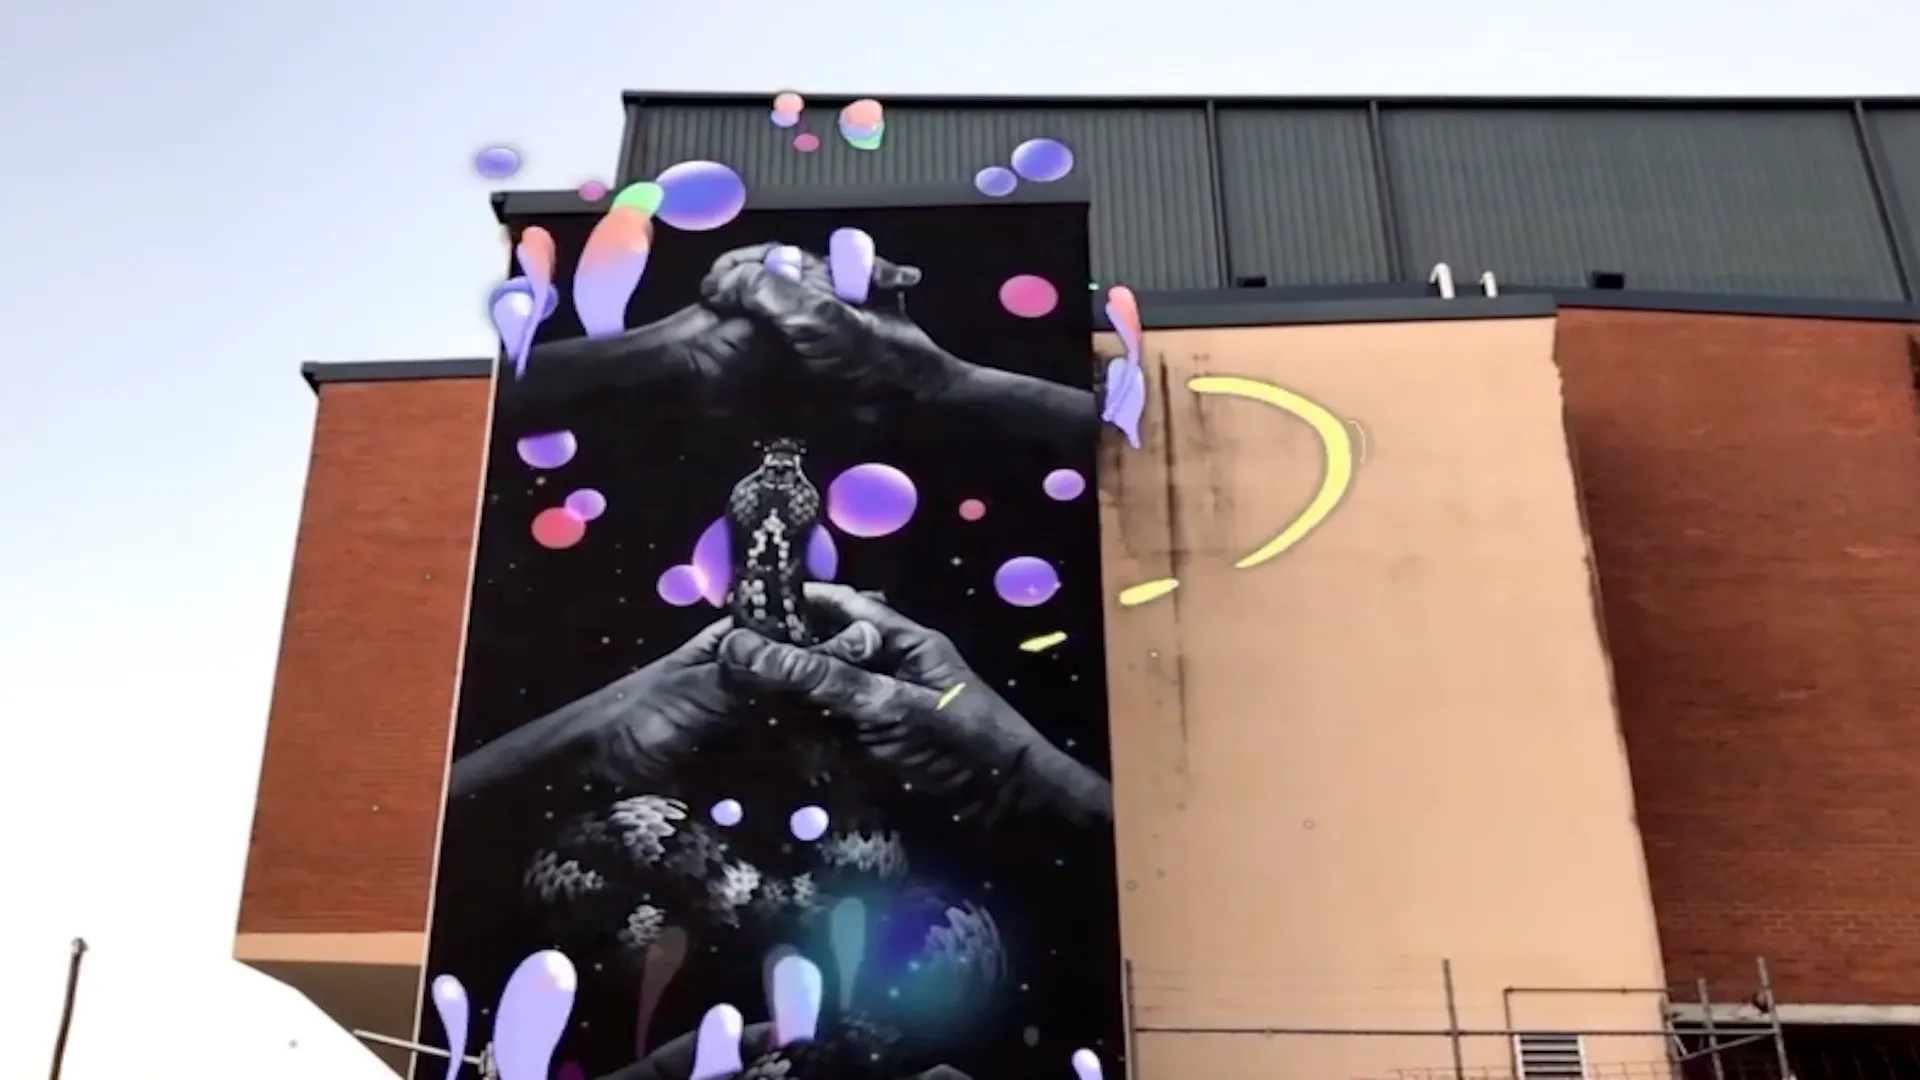
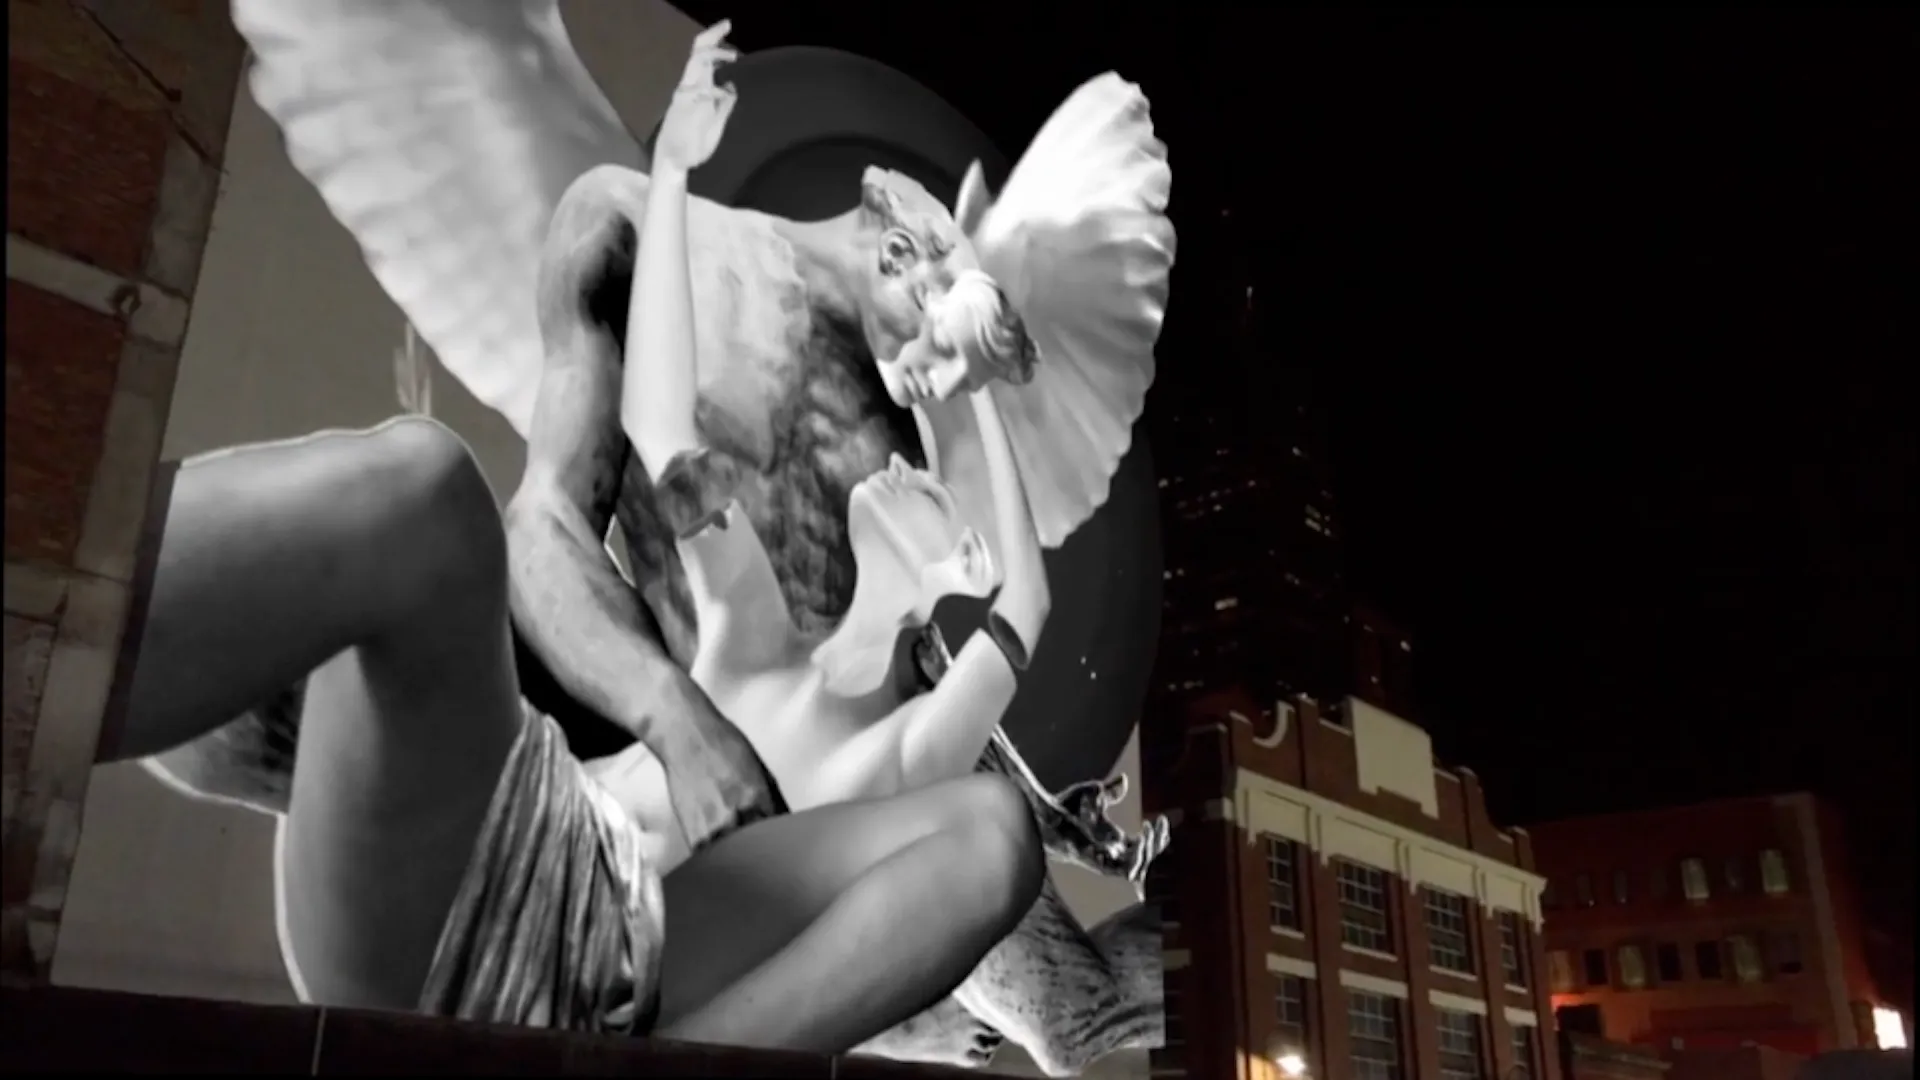
AR content is usually created at the same size as the mural, so the digital layer aligns directly with the physical artwork. However, the animation can also extend beyond the mural canvas. Animated elements can flow over the edges of the wall, spill onto the surrounding building, or appear to come forward into the viewer's space. This can be especially powerful with 3D content, where objects, characters or effects are positioned in front of the mural to create a more immersive experience.
The main limitation is tracking. In WebAR, the mural needs to remain visible to the camera for the animation to stay aligned. If the viewer moves their phone too far away from the mural, or follows animation that extends too far beyond the wall, the image target may leave the camera view and tracking can stop. When this happens, the animation may disappear or jump, which breaks the experience.
To prevent this, we use an invisible animation boundary around the mural. As a general rule, 2D animation should extend no more than 30% of the mural's smallest dimension beyond the mural edge. For example, if a mural is 5 metres wide and 3 metres high, the smallest dimension is 3 metres, so the animation can safely extend roughly 1 metre beyond the mural.
For 3D content positioned in front of the mural, we use a guide of around 50% of the smallest mural dimension. In the same 5 metre by 3 metre example, the 3D content should generally sit no more than 1.5 metres in front of the wall. These boundaries help keep the mural visible in the camera view, maintain stable tracking, and stop the viewer from chasing content so far beyond the mural that the AR experience disappears.